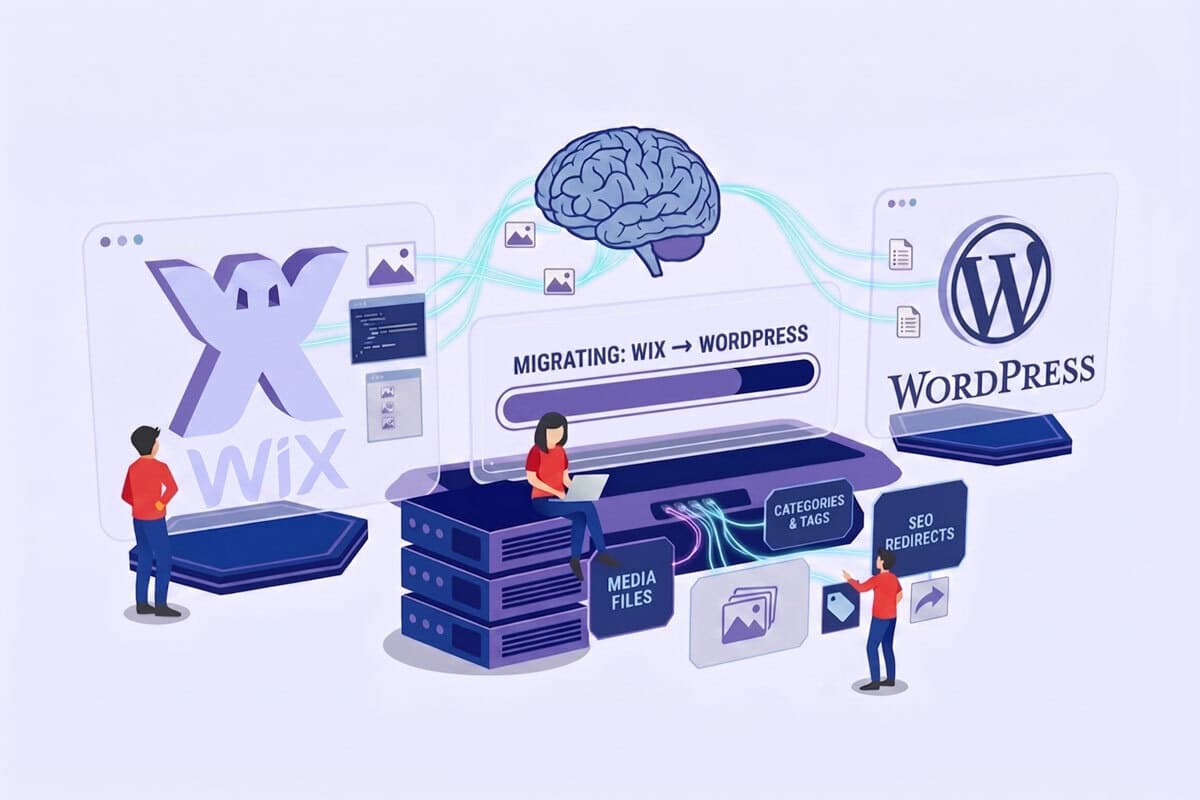
Changing a hosting provider may seem complicated, but with the right approach it can be a smooth and painless transition. Whether it’s inadequate performance, poor support, or simply the need to scale, migrating the hosting is a fundamental step in the life of every website.
In this guide we see how to migrate a website in the most technical sense: moving the web server, managing the domain transfer, correctly configuring email, and updating the DNS nameservers.
What does it mean to migrate a hosting?
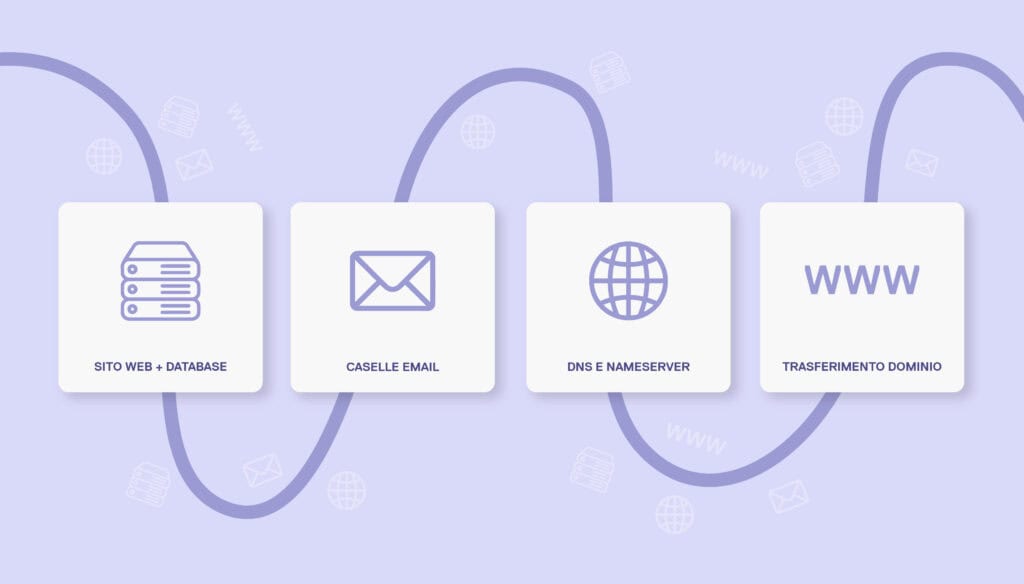
Migrating a hosting means transferring the entire infrastructure of your website (files, databases, emails, DNS) from one provider to another. Unlike a simple platform or CMS migration, here you focus on the infrastructure:
- Website and database
- DNS records and nameservers
- Email boxes and MX configuration
- Potential domain transfer
The 4 key components of hosting migration
1. Website migration (files + database)
This is the core of the migration. It involves:
- Performing a complete backup of the site (files + database);
- Transferring it to the new server (server via FTP or SSH or via Plesk File Manager);
- Recreating the vhost (web hosting space), database and related services, then importing the data;
- Verifying and updating any configurations as needed (e.g., paths, permissions, absolute URLs).
Note: If you use CMS such as WordPress, Joomla, Prestashop, or others, some plugins may help. But always test on a staging environment.
2. Email Transfer
Often underestimated, the email transfer is the most delicate part:
- If the old hosting managed emails, you will need to recreate all the mailboxes on the new server;
- It is important to export the contents of the mailboxes (via IMAP, client backup types like Outlook/Thunderbird or tools like imapsync);
- Configure DNS records (MX, SPF, DKIM, DMARC) in an identical manner;
- If you use external providers (e.g., Google Workspace, Microsoft 365), replicate the DNS records.
📌 Tip: To avoid message loss during migration, keep both services active for a few hours and monitor the flow.
3. Change of Nameservers (NS)
Once everything is set up on the new hosting, you need to change the nameservers at your domain registrar. Here’s how it works:
- Login to the registrar panel (e.g., GoDaddy, OVH, Aruba, etc.);
- Enter the new nameservers provided by the new hosting;
- Save and wait for DNS propagation (usually 1–24 hours).
During this period, traffic may arrive at either the old or the new server: it’s crucial to keep both in sync.
4. Domain Transfer (Optional)
Not always necessary, but recommended if you want to manage everything in a single infrastructure:
- Check that the domain is “unlocked” (status OK);
- Request the authorization code (Auth/EPP code);
- Initiate the transfer from the new registrar;
- Confirm via email (registrant contact).
⏳ A domain transfer may take from 3 to 7 days. During this time, the site remains online as long as the DNS are correct.
Tools useful for a hosting migration
- FTP/SFTP/SCP client: FileZilla, Cyberduck
- Database manager: phpMyAdmin, Adminer, Workbench
- Email backup: imapsync, Outlook export, MailStore, Thunderbird
- DNS monitoring: whatsmydns.net, dnschecker.org
- Ping & Uptime: UptimeRobot, HetrixTools
Best practice for a hassle-free hosting change
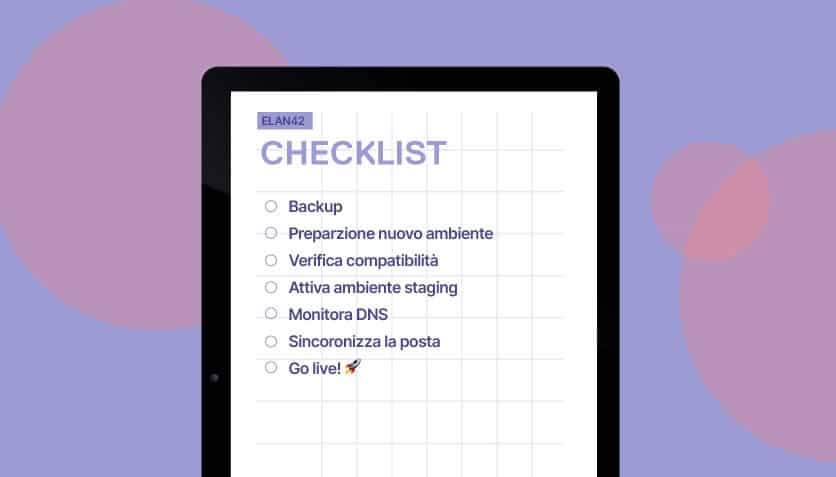
✅ Backup everything completely before touching anything
✅ Prepare the new environment in advance
✅ Check compatibility (PHP version, DB, extensions)
✅ Activate a staging or temporary test environment
✅ Monitor DNS traffic closely for 48h
✅ Synchronize emails before disabling the old server
✅ Do not delete anything until you are certain everything is working
Conclusion
Migrating a website from one hosting to another requires attention, method, and precision. But with the right checklist and a bit of technical experience, it is an operation absolutely feasible if you take due care and attention to details..
We at Hosting4Agency simplify all this!
We offer a welcome package reserved for incoming sites, as well as fast and performant hosting on Debian/Plesk servers, active monitoring, and human support.
👉 If you are thinking of changing hosting, contact us: we will take care of everything, without downtime, without stress.